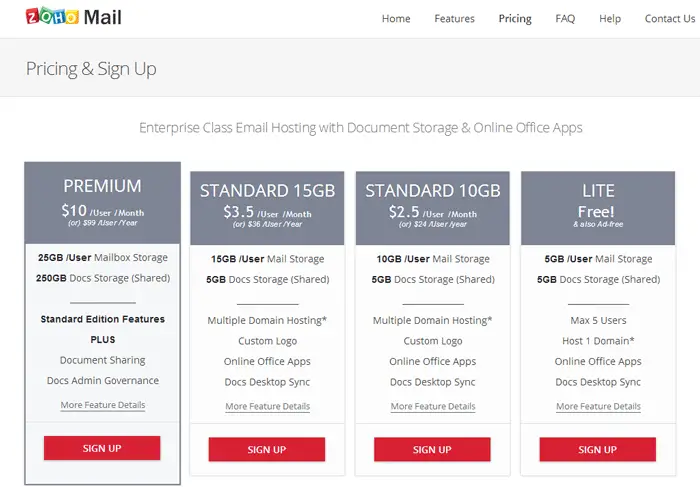
After the end of free service by Google Apps and recently Outlook for domains, Zoho is the only alternative left as a free one. Zoho cannot be compared with the leading hosting providers like Google Apps or Office365 but it offers some unique features. They are recommended by some leading tech magazines like PC World, TechCrunch, CNet, etc. There are various premium email hosting plans available at their website with a free one (“LITE”) for small business owners and personal use.
They offer 5GB Space/User(max 5 users) with 5GB shared space for storage of documents. Though this plan is a free one all the features are the same with premium ones, No ads, and POP3/IMAP support. If you face space-related issue you can connect your Gmail account with Zoho to send and receive emails.
Setup Zoho Free Email Hosting with Your Domain
You can set up Zoho easily with your domain name, but before you start you have to sign up for the email hosting service. Follow the simple steps and get started with Zoho:
Sign up for Zoho
As I mentioned we will sign up for the free email hosting package of Zoho. So go to https://www.zoho.com/mail/ and hit the Sign-Up button on “Lite Plan”.
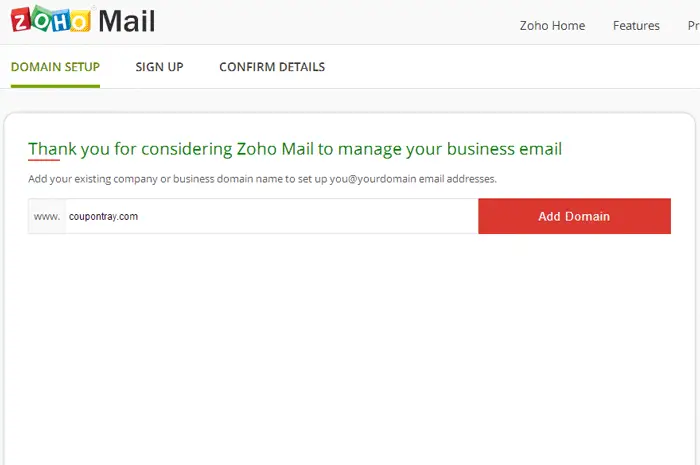
Add Your Domain
Now you will be asked to add the domain name you own or want to set up the email. On the free plan, you will only able to add a single domain. After entering the domain name hit the “Add Domain” button to proceed.
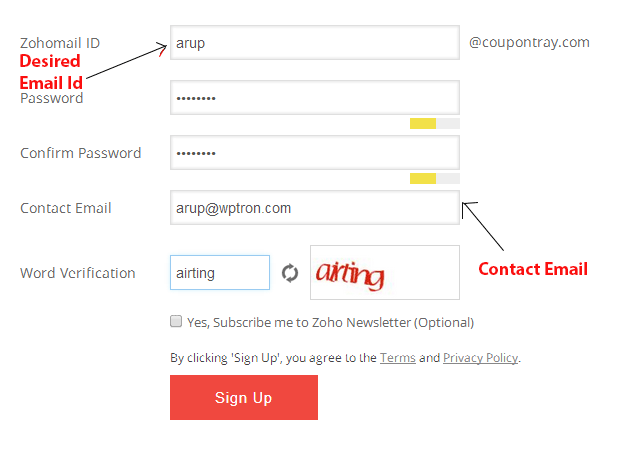
Create an Account
Now you will be asked to create the first email id with your domain name. You will also have to enter the existing email id to verify and activate your account. Check the following image. ( Subscription for Zoho Newsletter is optional)
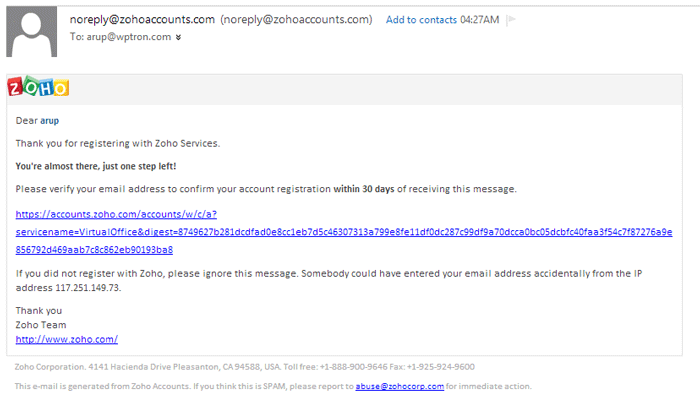
Verify Contact Address
After you hit the “Sign Up” button Zoho will send a verification mail to your contact email address. Go to the link provided on that email to activate your account.
Verify Domain Ownership
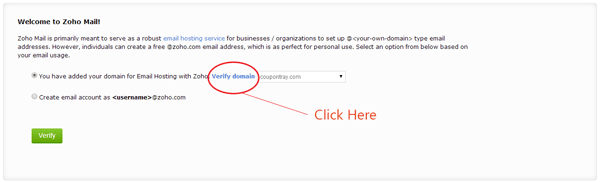
If you have verified your contact address, you will be in the domain verification page by now. Verification is the final step of the whole setup process. Without domain verification, you will not be able to access the mailbox. If you are on the following page like me, click on the ” Verify Domain” link.
Select an Option
Here comes the important part of the verification process, choosing the appropriate method. Zoho offers three methods of domain verification –
1) CNAME Method
2) TXT Method
3) HTML Method
The first two methods are best if you don’t have a website or you don’t have FTP access, the 3rd method is comparatively easy as you only have to upload an HTML file on the root directory. One more thing as on the first two methods you have to update DNS records it can take up to 48 hours to get verified but 3rd one is instant.
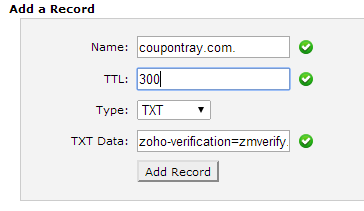
Verification of Domain using TXT Record
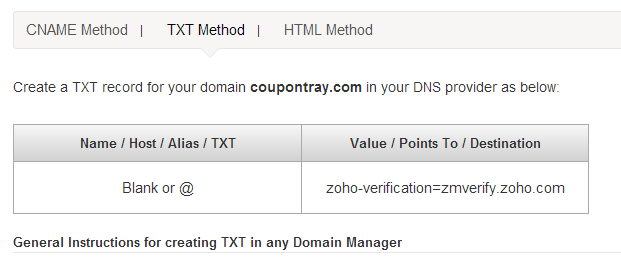
For this tutorial, I’ll use the TXT verification method as an example. As nameservers of the above domain pointed to hosting provider, I’ve to open cPanel to make DNS changes for those using Blogger or other services like blogger can make the changes from domain panel. Wait for 30-40 mins and hit the “Verify” button.
Change/Add MX Records
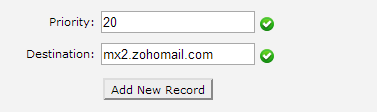
Once you have verified the domain, you will see a success message and will be redirected to the “Domain Setup” page. Click the next button until you reach the “Change MX Records” tab and click on Proceed to Point MX link. Zoho will provide you the following MX records (I’m not fully sure but, they provide the same record for everyone).
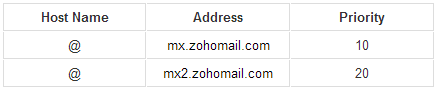
Set up the record correctly and you are done.
Everything is set, click on “Proceed to Inbox” link and start using Zoho mail with your custom domain name. If you face any problem during the setup process, feel free to comment.
Thanks for sharing this. I didn’t hear about this before. Anyway i ll make a try.
This is the only free alternative left for now.
Thanks for sharing about zoho. Although I have never used but seems quite good.
I am gonna try it.
I’m tried but keeps saying cannot verify on all of them
You should wait for 24-48 hours if you are using CNAME or TXT record for verification.
Thanks for the post but When I change the MX records in m domain “DNS Zone could not be set for MYDOMAIN. (Destination host must be set to a valid hostname, or IP address only for subdomain “MY DOMAIN”)” comes up, what can i do??
Add a dot at the end of the record you are adding, I think it will solve your problem. If problem still persists just share a screenshot.
Regards,
Arup Ghosh
thanks for sharing this knowledge full post about zoho.